Connect Cursor or VS Code to Mempipe
To connect Cursor to Mempipe, choose Add beside Cursor on your Space’s MCP Endpoint page, then Open Cursor, and confirm the server in Cursor. To connect VS Code, run MCP: Add Server, choose HTTP, and paste the Space’s address. Both editors then open your browser to sign in to Mempipe and approve access. The editor’s AI can then search and read the files in that Space and cite them in its answers.
Before you start
Section titled “Before you start”- Cursor or VS Code, installed on your computer. In VS Code, you use the server’s tools from the Chat view.
- A Mempipe Space with files in it, and the Mempipe account you use to open it. See Upload files to a Space.
Connect Cursor
Section titled “Connect Cursor”-
Open the link from Mempipe.
In Mempipe, open the Space. Choose Pipeline in the left rail, then MCP Endpoint. Choose Add beside Cursor, then Open Cursor.
The link carries only the Space’s address, not a password or key.
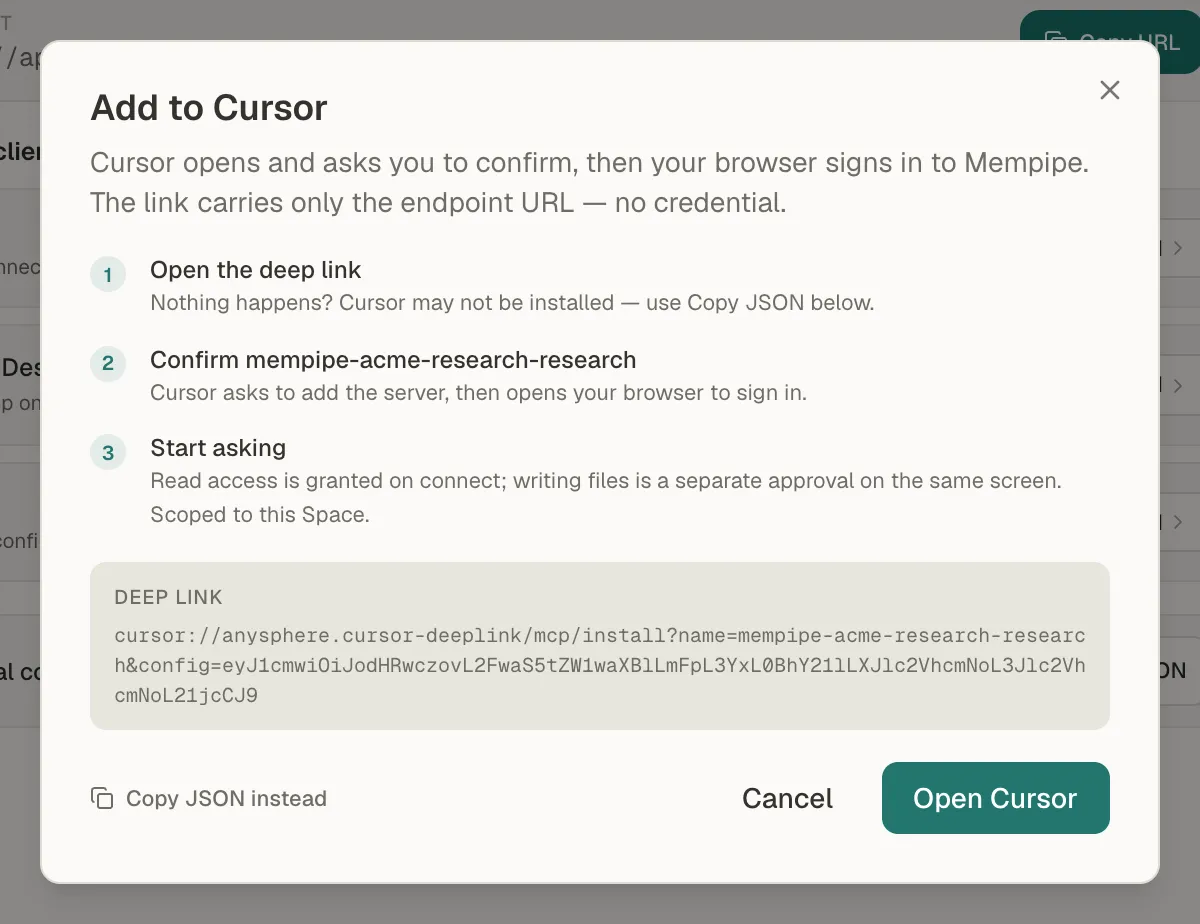
Open Cursor adds the server. Copy JSON instead is the fallback. -
Confirm the server in Cursor.
Cursor opens and asks you to add the server, named like
mempipe-ORG-SPACE. Confirm it. -
Sign in and approve.
Cursor opens your browser to sign in to Mempipe. Sign in if asked, then on Allow this client access to Mempipe? choose Approve access. To let Cursor save notes and wiki pages, tick Create and replace Markdown, SQL, and chart files in this Space first.
If Open Cursor does nothing
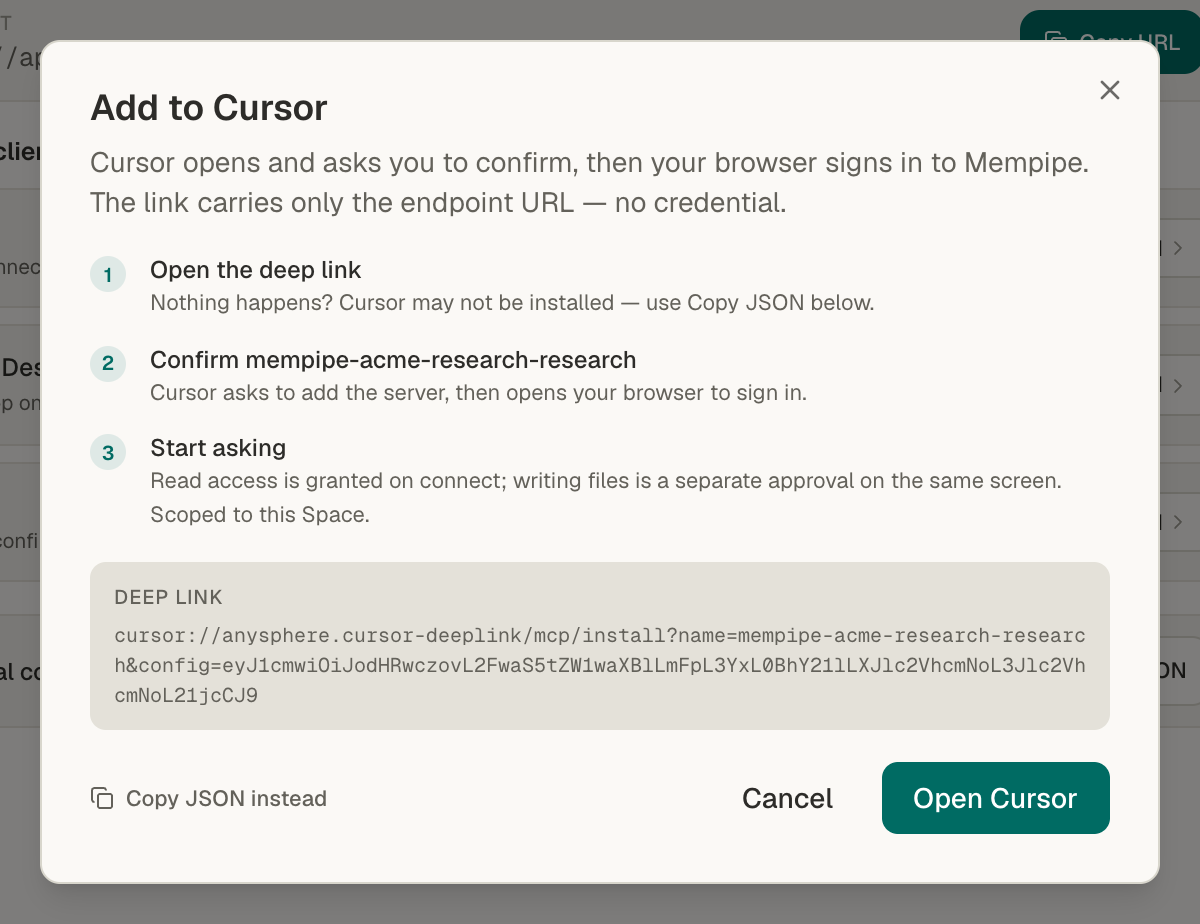
Section titled “If Open Cursor does nothing”Cursor may not be installed, or your browser may have blocked the link. Choose Copy JSON instead in the same window, and add the copied server to Cursor’s mcp.json file: ~/.cursor/mcp.json for every project, or .cursor/mcp.json in one project. It looks like this:
{ "mcpServers": { "mempipe-ORG-SPACE": { "url": "https://api.mempipe.ai/v1/@ORG/SPACE/mcp" } }}If the file already lists other servers, add the Mempipe entry inside the existing mcpServers.
Connect VS Code
Section titled “Connect VS Code”-
Copy the Space’s address.
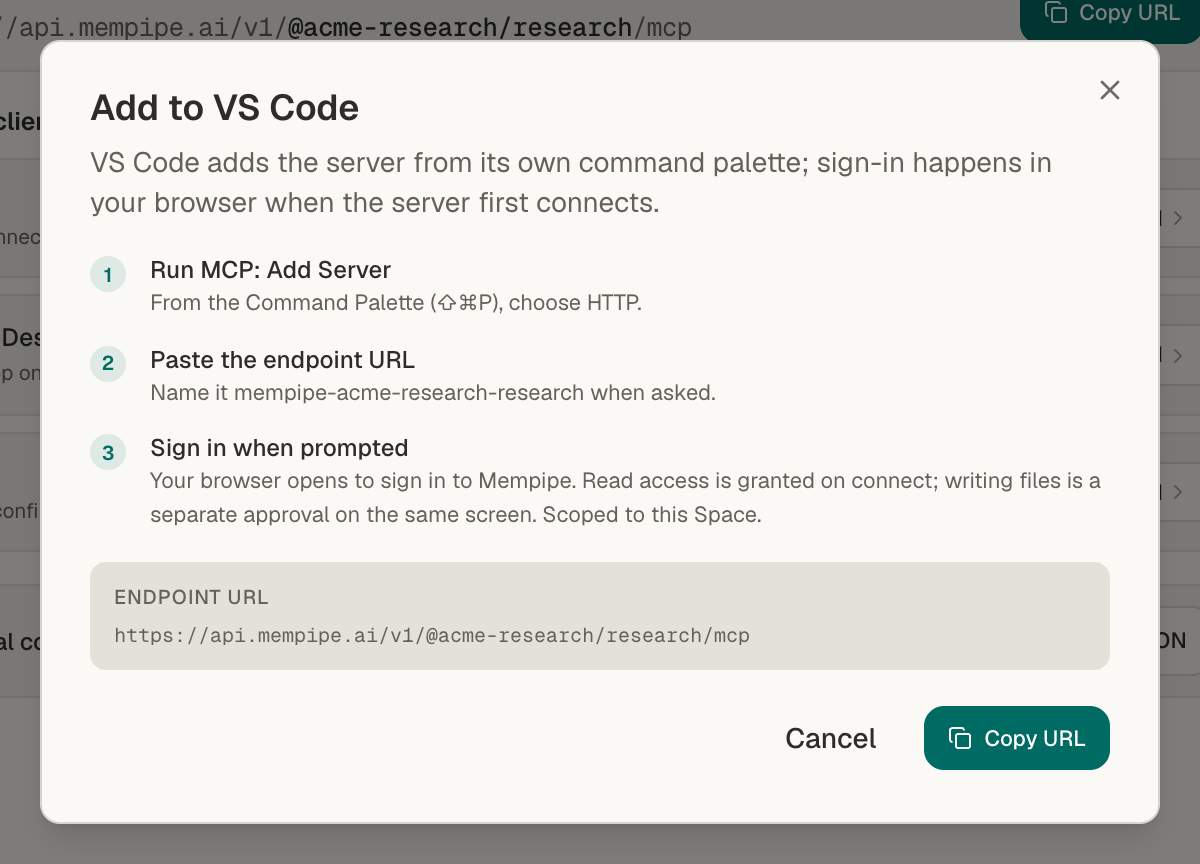
On the Space’s MCP Endpoint page, choose Add beside VS Code, then Copy URL. The window also shows the name to give the server, such as
mempipe-acme-research-research.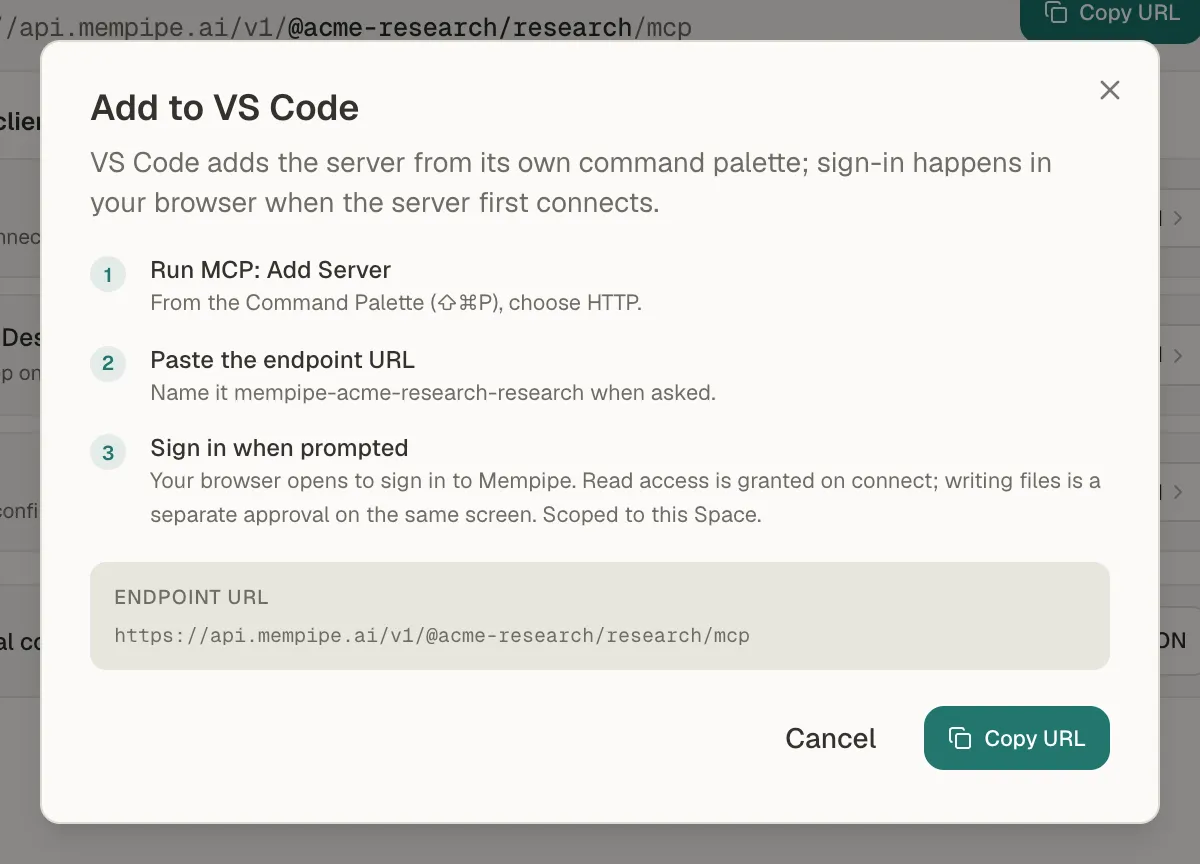
Mempipe's Add to VS Code window has the name and address to use. -
Run MCP: Add Server.
In VS Code, open the Command Palette with ⇧⌘P, or Ctrl+Shift+P on Windows and Linux. Run MCP: Add Server and choose HTTP.
-
Paste the address and name the server.
Paste the address, and enter the name from the Mempipe window when VS Code asks. Choose whether to add it for every workspace or only this one.
-
Sign in when prompted.
When the server first starts, VS Code opens your browser to sign in to Mempipe. Sign in if asked, then on Allow this client access to Mempipe? choose Approve access.
Don’t paste the JSON from Manual configuration into VS Code. VS Code’s mcp.json uses a different format, so use MCP: Add Server instead.
Ask a question
Section titled “Ask a question”In the editor’s chat, name the server in your request:
Use the mempipe-ORG-SPACE MCP server. Search my files for what they say about [topic], and answer with the citation links it returns.
The answers link to the passages used, and each link opens the passage in Mempipe. Open a citation and check its source shows what to check.
If something goes wrong
Section titled “If something goes wrong”- The editor shows the server but can’t use it. Finish signing in. The editor opens your browser when the server first starts.
- The sign-in page asks for a password you don’t have. Choose Sign in on the Mempipe app and sign in there, in the same browser. Then start the server again in your editor. See If the connection fails for other sign-in problems.
- The editor’s AI says it can’t save files. You approved read access only. See how to add write access.
Still stuck? Email hello@mempipe.ai with your editor’s name and the message it showed.
Remove the server
Section titled “Remove the server”- Cursor: remove the server in Cursor’s MCP settings, or delete its entry from
mcp.json. - VS Code: run MCP: List Servers, choose the Mempipe server, and remove it.
- What a connected AI can read and change.
- Connect an AI assistant to all your Spaces, to read every Space from one server.