Create and switch organizations and Spaces
To create a Space, open the Space switcher at the left end of the bar at the top of the app, and select New space…. To see every Space in your organization, select the organization’s name at the top left. To create or switch organizations, open the Mempipe logo menu, select Home, and choose an organization or select New organization.
Organizations and Spaces
Section titled “Organizations and Spaces”- An organization holds your Spaces and your plan. Your plan’s storage and files-and-folders limits are shared by every Space in the organization. You created your first organization when you signed up.
- A Space holds a set of related files, such as the sources and notes for one project. What is a Space?
Each organization has its own plan and its own limits. You can own up to three organizations. The number of Spaces in each one depends on its plan: 2 on Free and 10 on Starter. See plans, usage limits, and upgrading.
The person who creates an organization becomes its owner. The app has no way yet to add other people to an organization or a Space.
Create a Space
Section titled “Create a Space”-
Open the Space switcher.
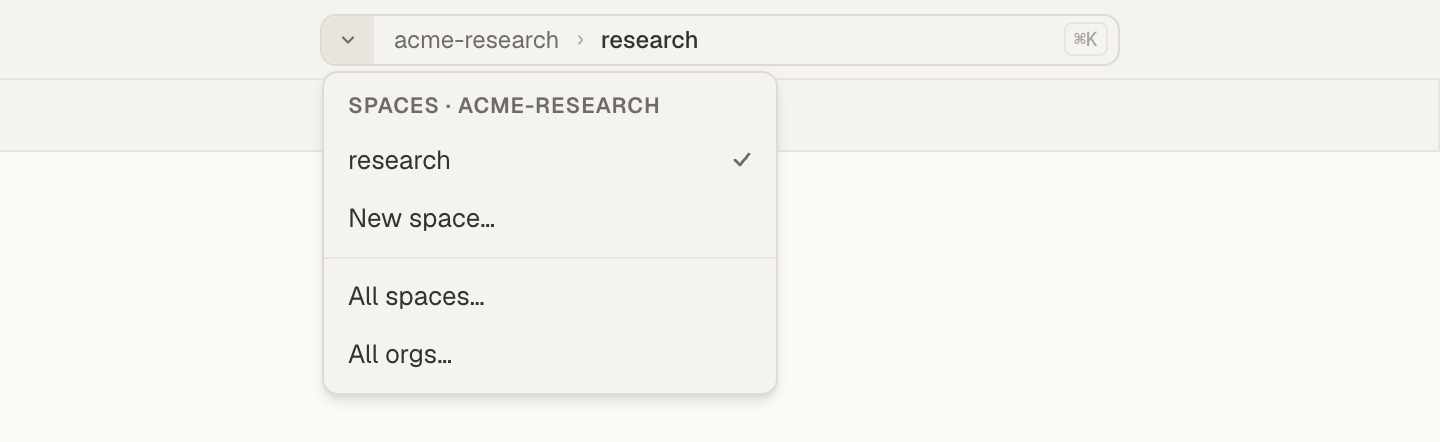
In a Space, select the arrow at the left end of the command center, the bar in the middle of the top of the app. The menu lists this organization’s Spaces.
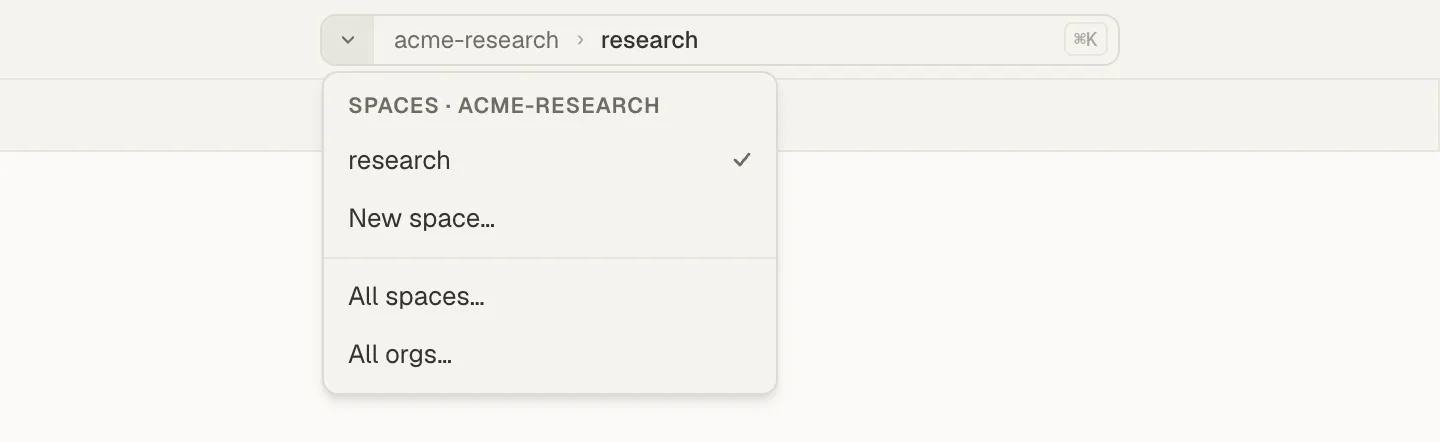
The arrow beside the command center opens the Space switcher. -
Select New space….
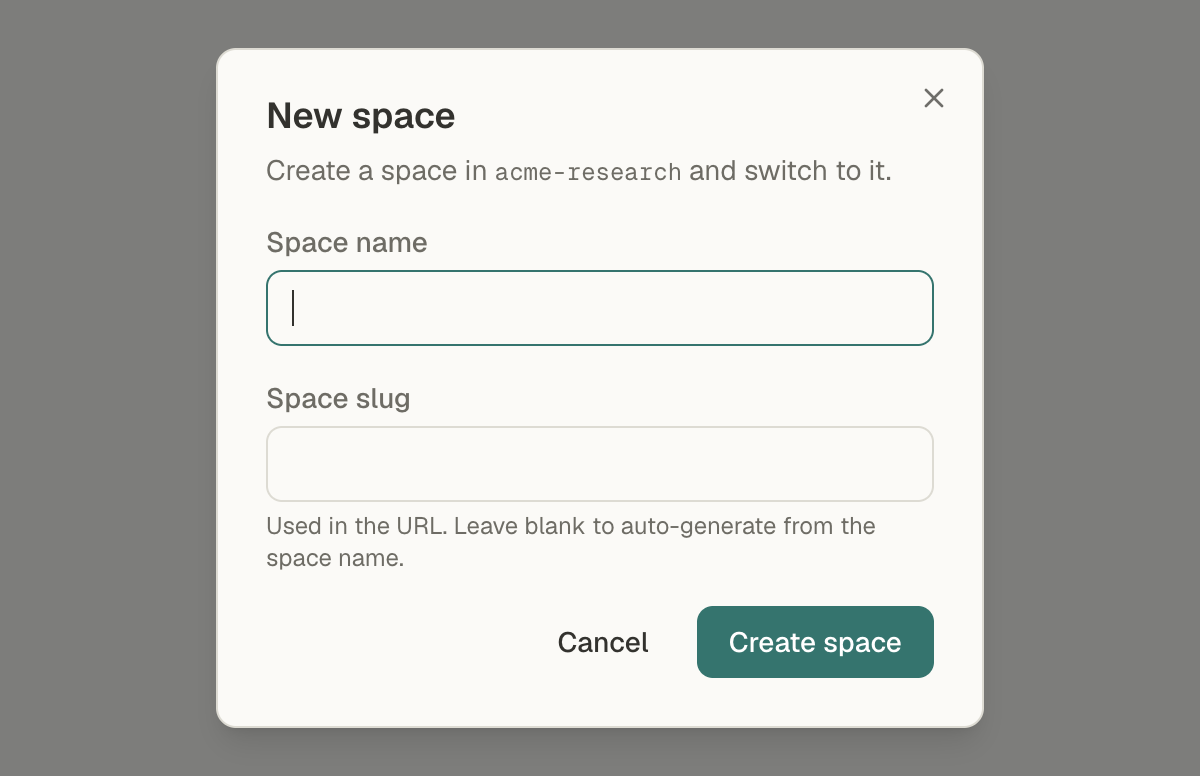
The New space dialog opens.
-
Enter a Space name.
Type a name in Space name, such as “Research”.
-
Check the Space slug.
The slug is the Space’s short name in its web address, such as
researchinapp.mempipe.ai/@acme-research/research. Leave Space slug blank to make one from the name, or type your own using letters, numbers, and dashes.The app has no option to rename a Space today, so choose a name and slug you are happy to keep.
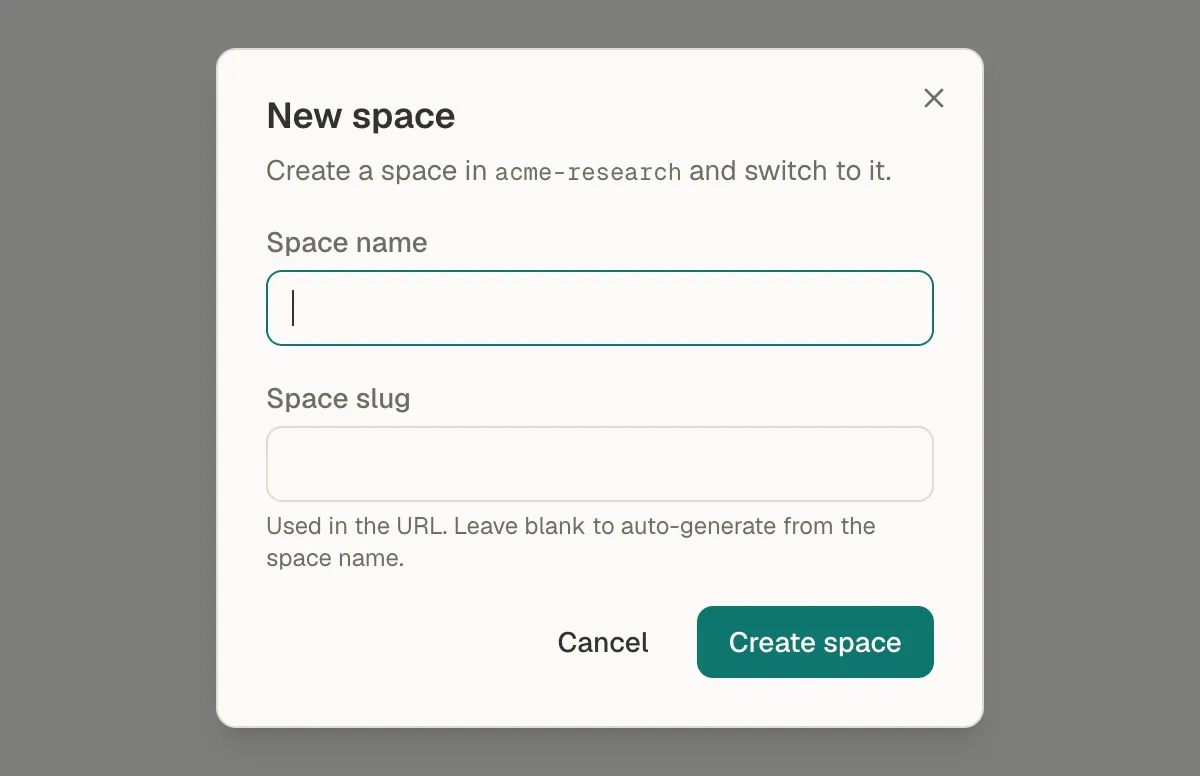
Leave the slug blank to make it from the Space's name. -
Select Create space.
Mempipe opens your new, empty Space. Upload files to a Space to fill it.
An organization with no Spaces shows No spaces yet on its page, with a Create a space button that opens the same form.
See all your Spaces
Section titled “See all your Spaces”Select your organization’s short name at the top left of the app, or choose All spaces… in the Space switcher. The organization’s page, Choose a space, lists every Space in it with its slug. Select a Space to open it.
The page also shows the organization’s plan, such as Free plan. Select it to open Billing.
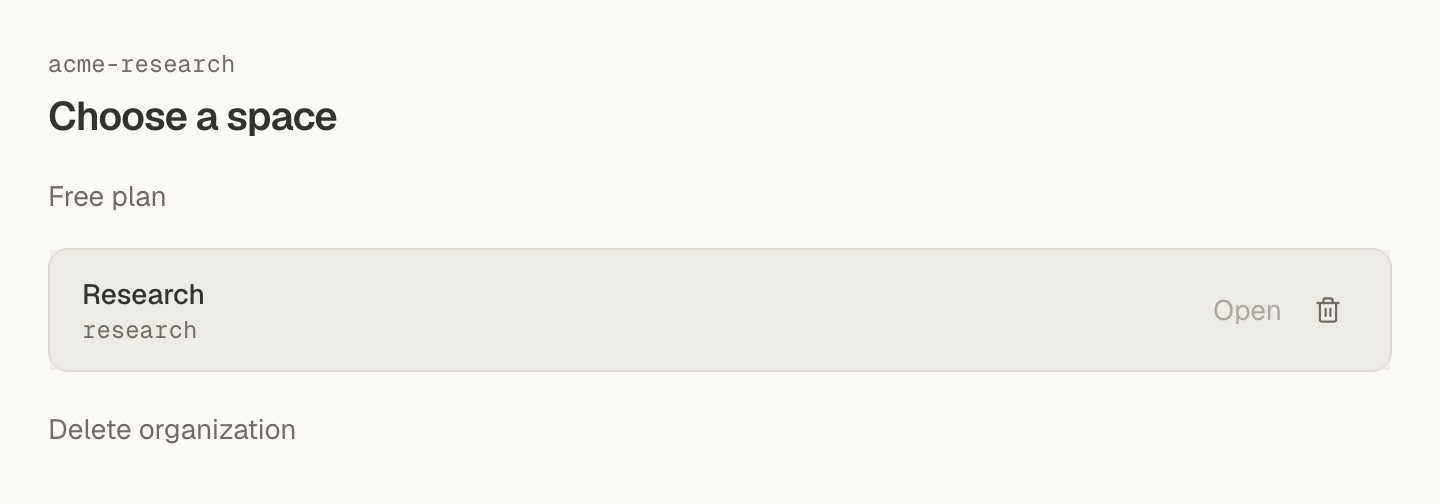
Switch organizations
Section titled “Switch organizations”Choose All orgs… in the Space switcher, or select the Mempipe logo at the top left and choose Home. Choose an organization lists the organizations you belong to. Select one to see its Spaces.
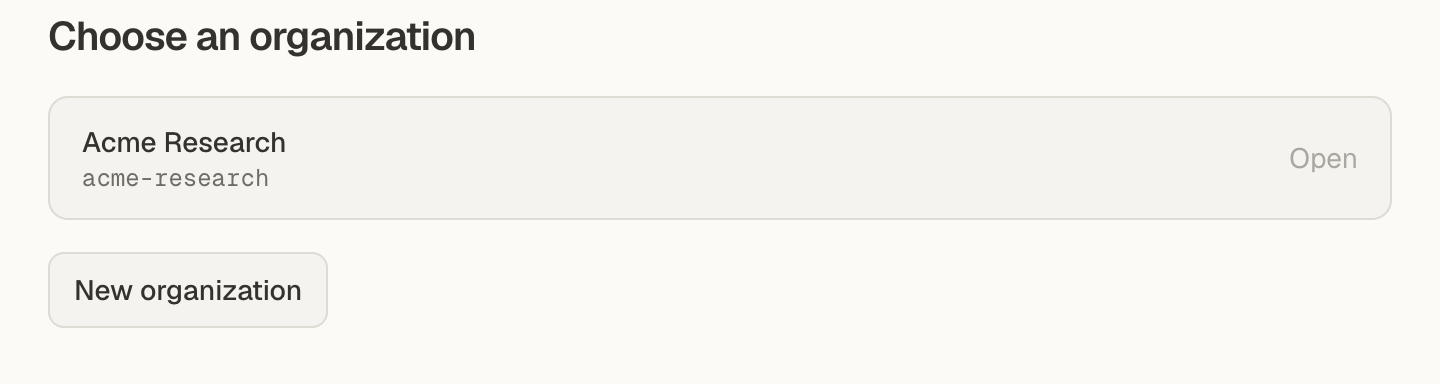
Create an organization
Section titled “Create an organization”A new organization starts on the Free plan, with no Spaces. Create one when you want a separate plan and separate limits, for example for a different client or team.
-
Go to Home.
Select the Mempipe logo at the top left and choose Home.
-
Select New organization.
The New organization dialog opens.
-
Enter an Organization name.
-
Check the Organization slug.
It becomes the start of the organization’s web address, such as
acme-researchinapp.mempipe.ai/@acme-research. Leave it blank to make one from the name. The app has no option to rename an organization today.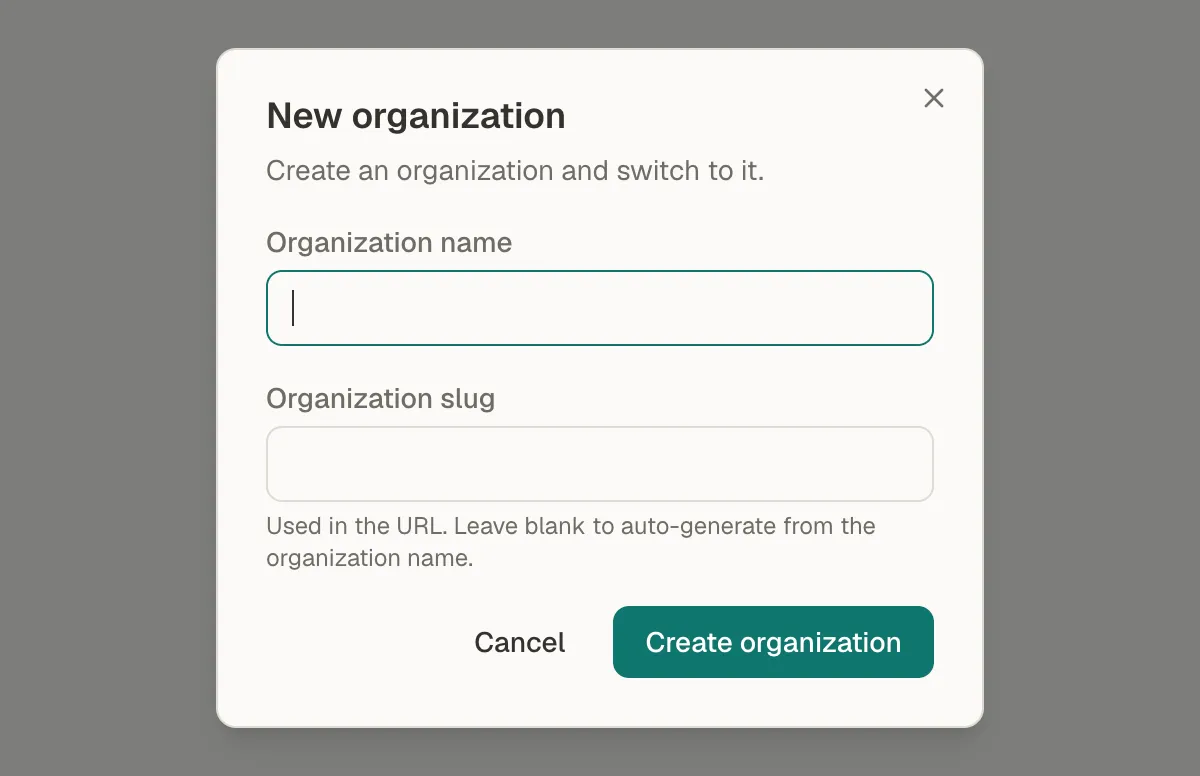
The organization slug becomes part of its web address. -
Select Create organization.
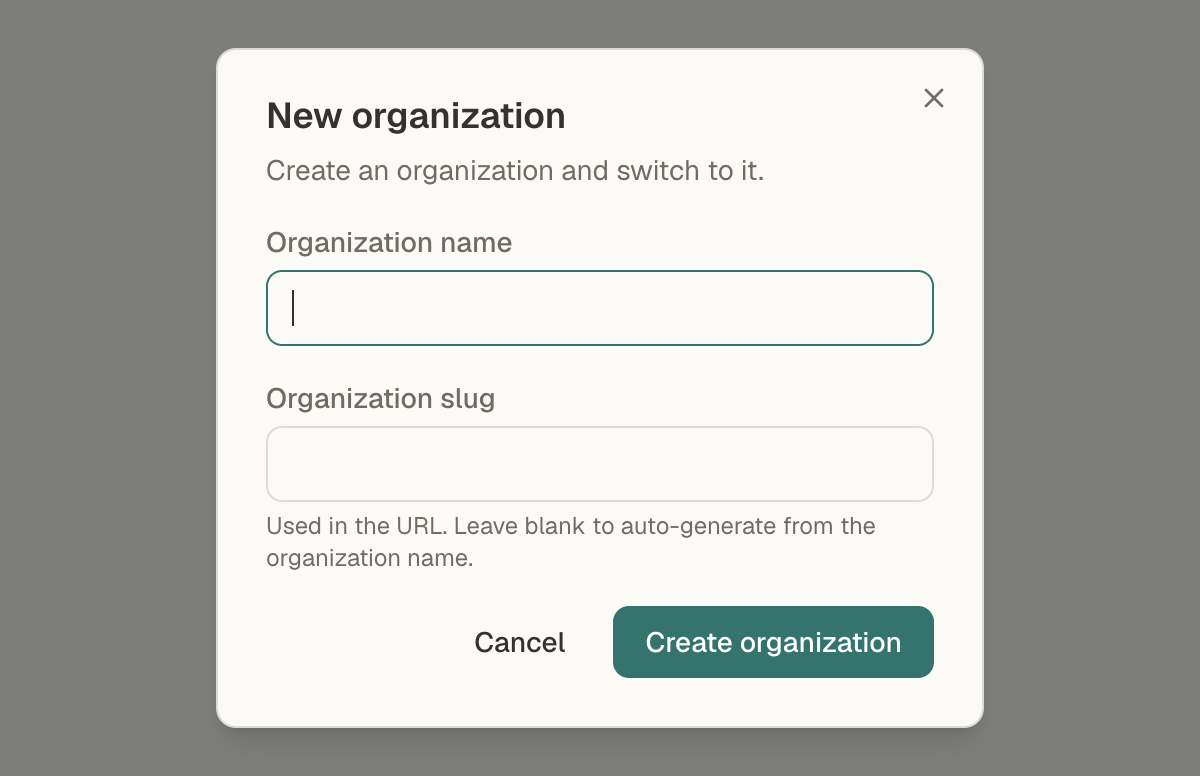
Mempipe opens the new organization’s page, which says No spaces yet. Select Create a space to add its first Space.
If something goes wrong
Section titled “If something goes wrong”- “Space name is required.” or “Organization name is required.” Enter a name, then create again.
- “Slug … is already used in this org.” Another Space in this organization already uses that slug. Enter a different Space slug.
- “That URL is taken - pick another.” Another organization already uses that slug. Enter a different Organization slug.
- “This slug has no usable characters” or “This name doesn’t produce a slug”. Type a slug using letters, numbers, or dashes.
- “You’ve reached the Space limit” Your plan’s Spaces are all in use. Delete a Space you no longer need with Manage Spaces, or upgrade with See plans and upgrade. See You’ve reached the Space limit.
- “Your account has reached its organization limit.” You already own three organizations. Delete one you no longer need to make room.
- Not found or Space not found. The link points to an organization or Space that doesn’t exist, was deleted, or belongs to another account. Choose Back home and open it from your list, or sign in with the account that owns it.
- Could not load workspace. Choose Try again. If it keeps happening, reload the page.
Still stuck? Email hello@mempipe.ai with the organization’s slug and the message you saw.
Next step
Section titled “Next step”Upload files to a Space, or see plans, usage limits, and upgrading.